
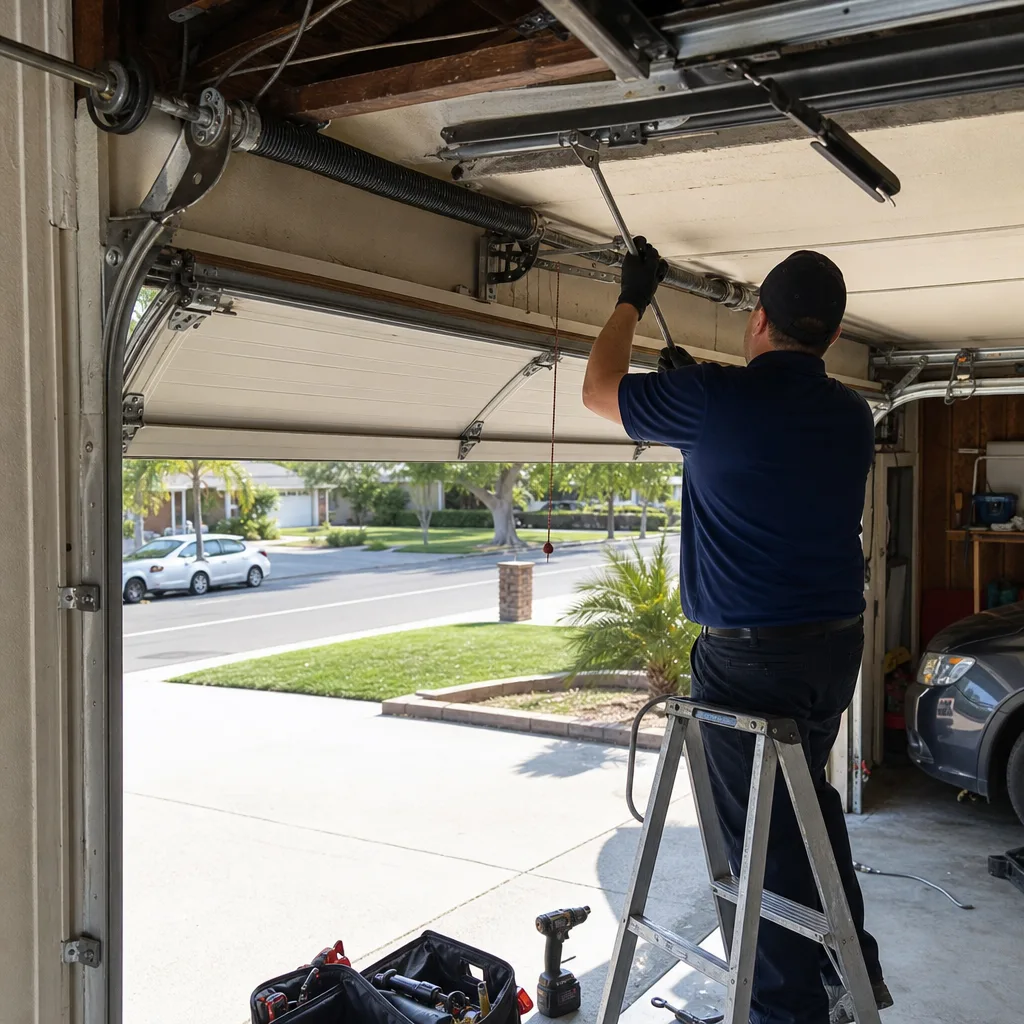
Last updated November 2, 2026
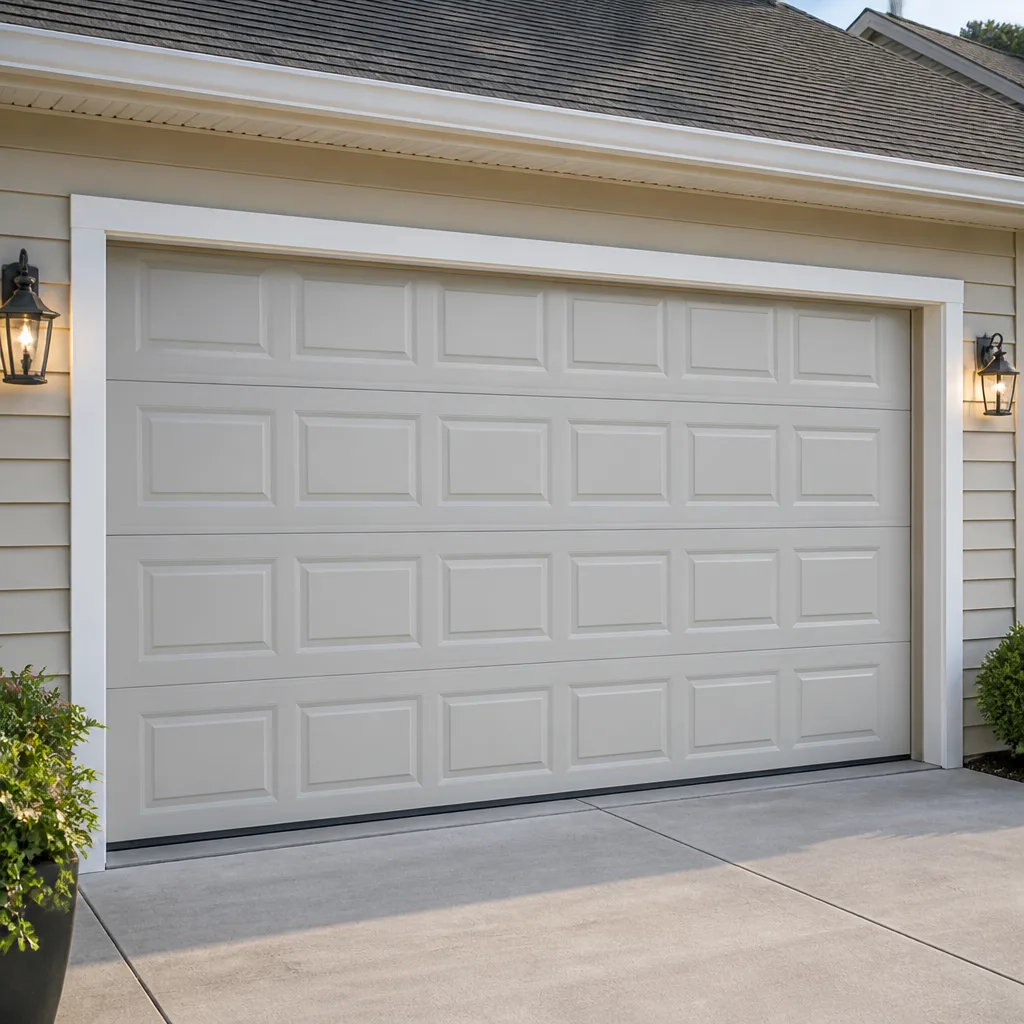 Raised-panel steel
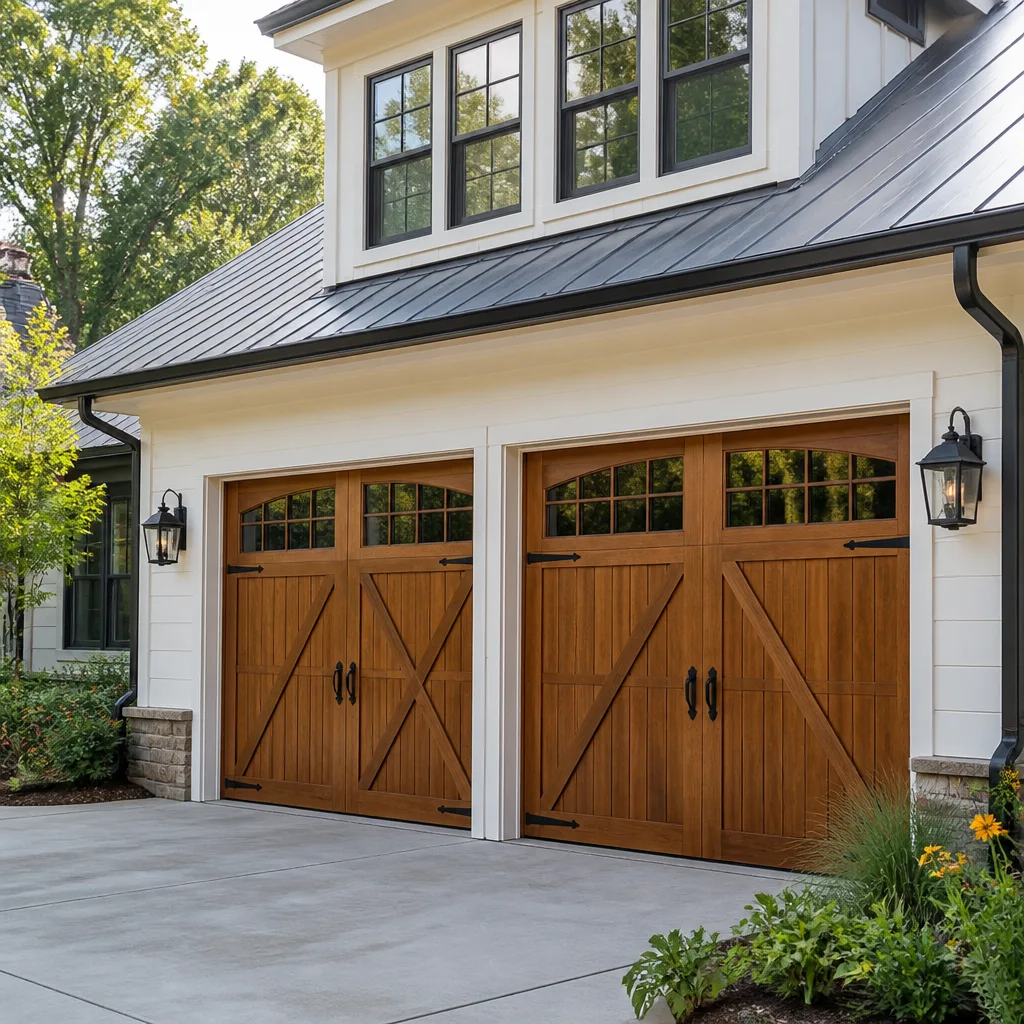 Carriage house
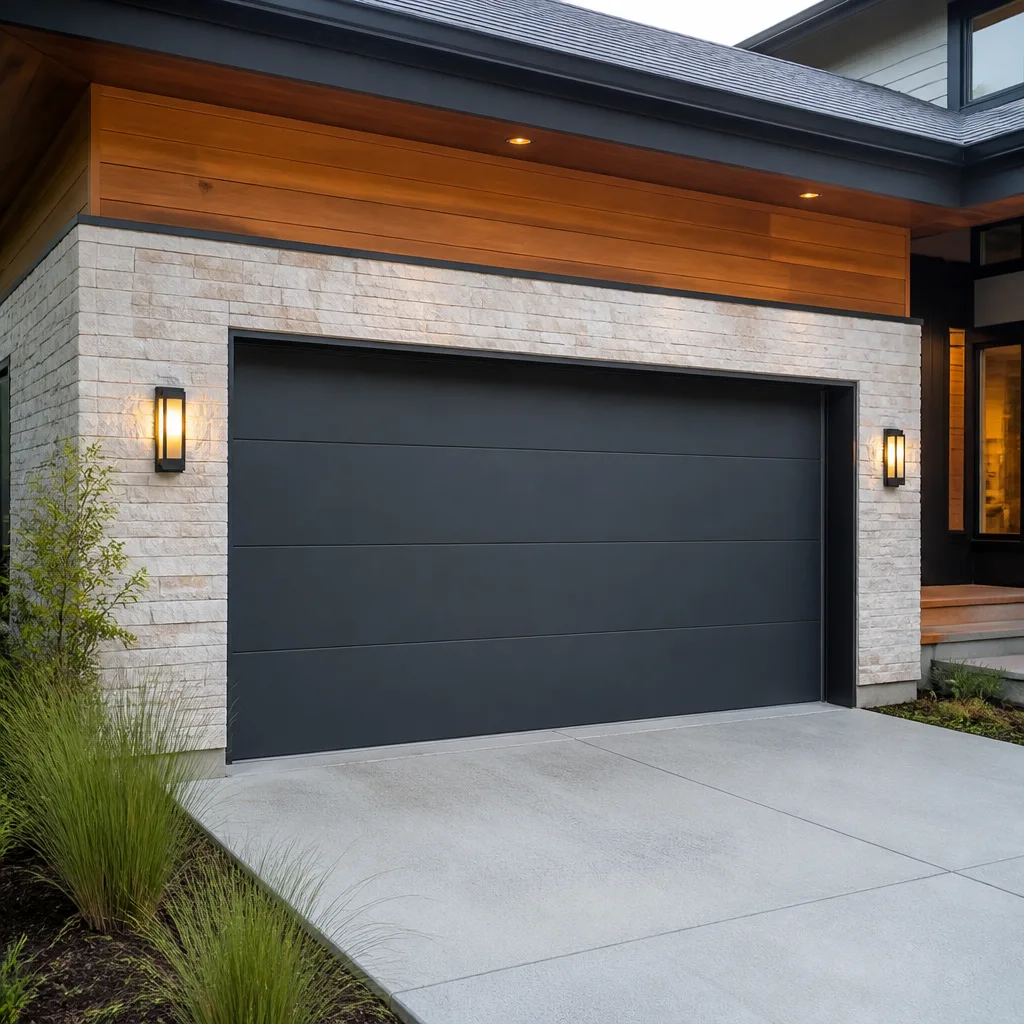 Modern flush
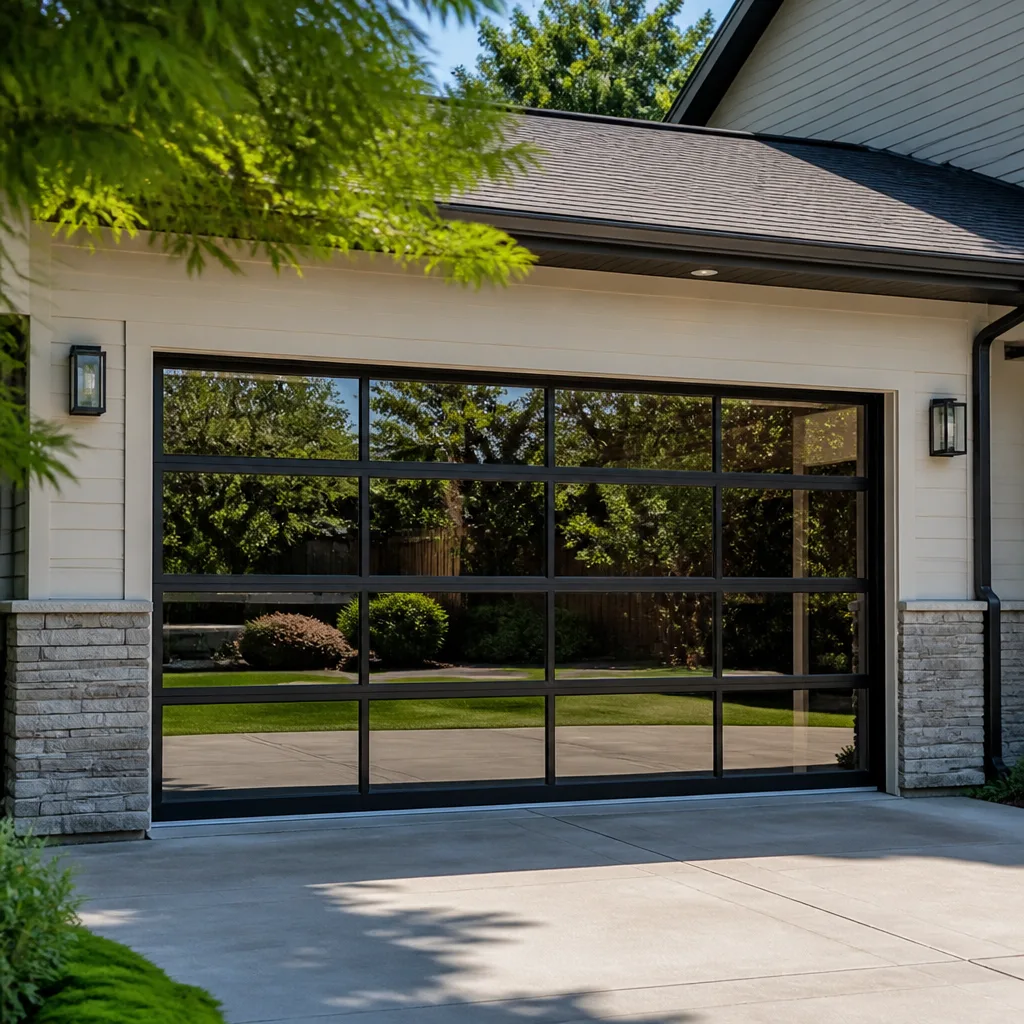 Full-view glass
 LiftMaster openers
 Chamberlain openers
Full 25-point door and opener safety check with every visit - springs, cables, rollers, tracks, and your LiftMaster or Chamberlain opener included
You get a price before we start. It does not change when the truck arrives.
Get your free estimateGarage Door Repair Troubleshooting: Common Problems and How to Fix Them
Here’s a number most homeowners never hear: the average garage door cycles open and closed roughly 1,500 times a year. That’s 1,500 chances for a spring to weaken, a cable to fray, or a roller to seize. In Fullerton, where summer heat pushes 95°F and garage interiors bake well past that, rubber and lubrication break down faster than in coastal climates. The most expensive thing most homeowners do after a garage door malfunctions is hit the button again. Repeated failed cycles can turn a minor cable slip into a bent track, a simple fix into a structural one. This guide walks through what actually goes wrong, what the sounds mean, and which problems you can resolve yourself versus which ones need a technician before you make things worse.
Styles & brands we work with
- Raised-panel steel
- Carriage house
- Modern flush
- Full-view glass
- LiftMaster openers
- Chamberlain openers
Quick Answer
Garage door repair troubleshooting starts with one rule: stop pressing the button after the first sign of trouble. Most common garage door problems fall into four categories – broken springs, misaligned sensors, worn rollers, and opener logic errors – each with distinct sounds and symptoms. A door that’s noisy but moves is usually a maintenance issue; a door that won’t move at all is usually a spring, cable, or opener problem. If the door is stuck open or closed, or if you hear a loud bang from the spring area, do not operate it further and call a garage door specialist.
Table of Contents
- Symptom-to-Sound Mapping: What Your Garage Door Is Telling You
- The One-Button Test: What a Technician Checks in the First 60 Seconds
- Mechanical vs. Electrical: Why a Working Opener Doesn’t Mean a Working Door
- How to Safely Use the Manual Release Without Making Things Worse
- Red-Flag Symptoms: When You Should Not Operate the Door at All
- DIY Fixes That Are Actually Safe: Lubrication, Sensors, and Simple Adjustments
- Brand-Specific Notes: What We See on Wayne Dalton, Craftsman, Raynor, and LiftMaster Doors
- Common Mistakes to Avoid
- When to Call a Professional
- Frequently Asked Questions
- The Bottom Line
Symptom-to-Sound Mapping: What Your Garage Door Is Telling You
Most garage door problems announce themselves before they become emergencies. The trick is knowing which sounds are normal aging and which are components actively failing. In our experience working on doors throughout Fullerton and North Orange County, we’ve found that homeowners who can describe the sound accurately over the phone save themselves a service call guess.
Here’s what specific sounds actually mean:
- Grinding or metal-on-metal scraping: This almost always points to the rollers. The ball bearings inside the roller seize up, and the roller then slides along the track instead of rolling. Left unchecked, a seized roller will grind a flat spot into itself and eventually gouge the track. On doors in Fullerton’s older neighborhoods – particularly 1960s ranch-style homes near downtown – we regularly see original rollers that have never been replaced.
- Popping or snapping during operation: A popping sound that happens at the same point in the travel cycle usually means a hinge is binding or a roller is catching on a track seam. A single loud snap, followed by the door not moving at all, is a broken torsion spring. That snap is unmistakable once you’ve heard it – it sounds like a firecracker inside the garage.
- Squealing when the door moves: Squealing typically comes from the hinges, the spring coils, or the opener’s drive mechanism. On belt-drive openers, a squeal from the powerhead often means the belt tensioner needs replacement. On chain-drive openers, it’s usually the chain rubbing against the rail due to slack.
- Rattling or vibration while the door is in motion: Loose hardware is the usual culprit. Hinge bolts, track mounting brackets, and opener rail fasteners all work themselves loose over hundreds of cycles. A rattle that only happens at the top of the travel arc often points to the top strut or the opener’s J-arm attachment point.
- A rhythmic thumping as the door moves: This is typically a single bad roller. Picture one wheel on a shopping cart going square. The door continues moving, but each revolution of that one seized roller produces a thump you can feel through the wall.
Temperature changes matter in Fullerton. Our summers routinely hit triple digits, and the metal components of your door expand. A door that operated perfectly in March might bind slightly in August. That binding then puts extra strain on the opener, which wears out the gear and sprocket assembly inside the motor housing faster than the manufacturer intended.
The One-Button Test: What a Technician Checks in the First 60 Seconds
When one of our technicians arrives at a home in Fullerton, they don’t start by taking anything apart. They run what we call the one-button test – a 60-second diagnostic sequence that narrows the problem down before a single tool comes out. You can do this yourself, safely, from the wall button.
- Press the wall button once. Not the remote – the wall-mounted button. This tells you whether the problem is in the opener or in the remote/signal chain. If the wall button works and the remote doesn’t, you have a battery issue, a signal interference problem, or a remote programming loss. That’s an opener-level fix, usually simple.
- Watch what the door does – and what it doesn’t do. Does the opener motor hum but the door not move? That’s usually a broken spring, a stripped gear, or the opener’s travel limits out of adjustment. Does the door move a few inches and then reverse? That’s the safety reverse mechanism activating, which usually means the close-force setting is too low or something is obstructing the track.
- Listen during the first two seconds. A healthy opener has a steady, even hum. A grinding sound from the powerhead means the internal gear and sprocket assembly is failing – a known weak point on many older Craftsman units. A clicking sound without movement means the capacitor or logic board is likely dead.
- Check whether the opener lights flash. Modern openers from LiftMaster and Chamberlain use the light as a diagnostic tool. A flashing light after a failed close cycle usually means the safety sensors are misaligned. A solid light with no response suggests a logic board fault. Count the flashes if you can – the pattern corresponds to a diagnostic code in your manual.
- Try the wall button a second time, and watch the travel. If the door moves partway and stops at the same point both times, something physical is blocking the path or the door is binding at that specific spot. If it stops at different points each time, the problem is likely electrical – a limit switch, a capacitor, or a tired motor.
Run this test once, maybe twice. Then stop. Every additional failed cycle adds wear to every component in the system. If the test doesn’t point to an obvious, safe fix – a dead remote battery, a misaligned sensor – that’s the moment to stop and call someone who does this daily, or check more guides & resources for additional help.
Mechanical vs. Electrical: Why a Working Opener Doesn’t Mean a Working Door
The first diagnostic fork in garage door troubleshooting is separating mechanical problems from electrical ones. It sounds basic, but getting this wrong is how homeowners waste money replacing openers that were never the problem.
Here’s a simple way to think about it: the opener is a motor with a brain. The door is a mechanical system of springs, cables, rollers, hinges, and tracks. The opener’s only job is to move the door. Every spring, every cable, every roller can fail independently of the opener – and when any of them fails, the opener often gets blamed because it’s the part that makes noise when it struggles.
Signs the problem is mechanical (door system), not the opener:
- The opener runs but the door doesn’t move, or moves slowly and unevenly. The motor is doing its job; something physical is resisting it.
- You see visible damage: a snapped cable hanging loose, a spring with a visible gap in the coil, a roller that’s come out of the track.
- The door is heavier than it used to be when you operate it manually. You can test this by pulling the manual release and lifting the door by hand. A properly balanced door should lift smoothly with moderate effort and stay in place around waist height. If it drops to the floor, your springs are done.
Signs the problem is electrical (opener system), not the door:
- The wall button does nothing at all. No hum, no click, no movement. The motor isn’t receiving power or the logic board has failed.
- The opener works intermittently. It runs fine at 8 a.m. and refuses to respond at 3 p.m. That’s usually a capacitor or a logic board heat issue, not a mechanical door fault.
- The remote works from the car but not from inside the house. Signal interference from LED bulbs, nearby Wi-Fi routers, or even certain metal garage door panels can block the remote frequency. The door itself is fine – the opener’s receiver is the weak link.
- The opener reverses for no apparent reason. If the door travels smoothly when you operate it manually but reverses when the opener runs it, the problem is in the opener’s force sensitivity or travel limits.
In our experience across Fullerton, homeowners often misidentify a broken spring as an opener failure. The motor grinds, the door doesn’t move, and the assumption is “the opener is shot.” But a $400 opener replacement won’t fix a $250 spring replacement. The one-button test plus a manual lift test usually reveals which one you’re actually dealing with.
How to Safely Use the Manual Release Without Making Things Worse
The manual release cord – the red handle hanging from the opener rail – is useful but dangerous if pulled at the wrong moment. Here’s how to use it safely.
When to pull the release: When the door is fully closed, the power is out, and you need your car out of the garage. Also, when you’re testing whether the door is balanced (as described above).
When not to pull it: When the door is open or partially open and you suspect a spring or cable failure. If a spring has snapped while the door is open, that door can come crashing down with enough force to seriously injure someone or damage a vehicle. The release cord disengages the opener’s hold – and with a broken spring, the opener may be the only thing holding the door up. Pulling the cord in that scenario releases roughly 150 to 300 pounds of door weight.
If you must release the door while it’s open, follow this sequence:
- Place a sturdy ladder or support under the door. Do not rely on a person to hold it.
- Pull the release cord straight down, not at an angle. An angled pull can bind the mechanism.
- Once released, guide the door down slowly by hand. If it feels heavy or wants to drop, let it down carefully and stop.
- Do not operate the opener again until the underlying problem – usually a broken spring – has been addressed by a professional.
This is one of the areas where we urge caution. Torsion springs on Fullerton garage door installations – both residential and commercial – hold the full door weight under tension. A spring that’s partially failed can still look intact. No amount of YouTube confidence outweighs the risk of a door coming down unexpectedly.
Red-Flag Symptoms: When You Should Not Operate the Door at All
Some symptoms are not worth investigating further on your own. These are the conditions where every additional cycle risks making the repair more expensive or creating a safety hazard. If you see any of these, stop using the door and make a call.
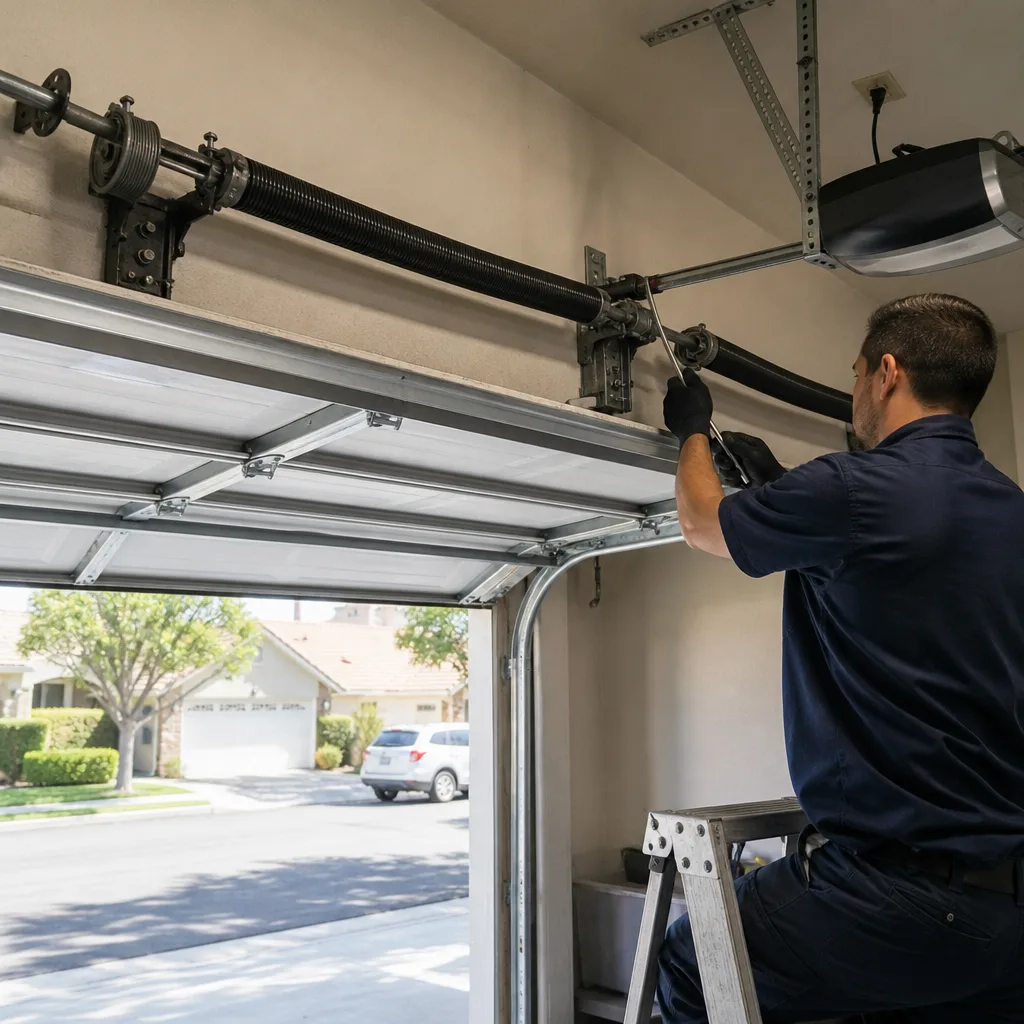
- A loud bang, like a firecracker, followed by the door not moving: A torsion spring has broken. The spring is under extreme tension and has released violently. Do not attempt to inspect or replace it yourself. Torsion spring replacement requires specialized winding bars and a process that has injured even experienced handymen.
- One side of the door is visibly lower than the other: A cable has likely snapped or come off its drum. When one cable fails, the remaining cable bears the entire load – and it’s not designed to. The door can jam hard in the tracks and bend them, turning a $150 cable replacement into a $600 track and hardware repair.
- The door has come off its tracks: If you can see rollers out of the track, stop. The door is no longer properly supported. Attempting to operate it will almost certainly cause further damage and could cause the door to fall.
- You can see visible gaps in a spring coil or a cable that’s fraying: A spring with a gap in the winding is on borrowed time. A frayed cable is one cycles away from snapping. Don’t wait for the failure – address it before it happens.
- The door moves several inches and then slams shut: If the travel stops suddenly and the door slams rather than lowers smoothly, the limit settings or safety reverse are not functioning. This is a safety issue above all else – a garage door closing unexpectedly on a child, a pet, or a car can cause serious injury.
At Westport Garage Door Repair home, we tell our Fullerton customers one thing consistently: the cost of a repair increases with every failed cycle you put on a damaged door. What would have been a spring replacement becomes a spring replacement plus a bent track plus a stripped opener gear. If you see red flags, the door is done until someone who knows garage doors gets there.
DIY Fixes That Are Actually Safe: Lubrication, Sensors, and Simple Adjustments
Not every garage door problem needs a service call. Some maintenance tasks are genuinely safe for a homeowner to perform, and doing them proactively prevents the bigger failures. Here’s what we consider appropriate DIY work.
Lubricating the door
Garage doors in Fullerton’s heat and dust dry out fast. A door that squeals or moves stiffly often just needs lubrication. Use a white lithium grease or a dedicated garage door lubricant – never WD-40, which is a solvent and will strip the existing lubrication. Apply to the rollers (the bearings, not the tracks themselves), the hinges, the spring coils, and the opener rail. Do this once or twice a year.
Aligning the safety sensors
If your door reverses immediately after touching the floor, or refuses to close at all, the photo-eye sensors are the first thing to check. These are the two small units on either side of the door near the floor. Each has a small LED light. If the light is blinking or off, the sensors are misaligned or blocked. Loosen the wing nut, adjust the sensor until the light comes back on, and retighten. Also check for dust, spider webs, or a garden hose that’s nudged it out of position.
Tightening loose hardware
A rattle that gets worse over time is usually loose bolts. Every hinge, every track bracket, every opener rail fastener has a bolt that will vibrate loose over thousands of cycles. A socket wrench and ten minutes can eliminate most rattles. Tighten them all – the track brackets into the wall studs, the hinge bolts into the door sections, and the opener rail attachment points.
Cleaning the tracks
Dirt and debris accumulate in the tracks over time. A clean track means a smoother-running door. Wipe the inside of the vertical tracks with a cloth – not lubricant, which just attracts more dirt. Check for any obvious obstruction like a bent section or a pebble lodged at the bottom.
Replacing remote batteries
Before calling anyone about a “broken” opener remote, replace the battery. It sounds obvious, but the number of service calls generated by a dead CR2032 battery is staggering. Most remotes use a standard watch battery available at any drugstore in Fullerton.
Our guidance for Garage Door Opener Repair in Fullerton is the same: maintenance is prevention. The difference between a door that lasts 15 years and one that needs major work at year 8 is usually just basic care applied consistently.
Brand-Specific Notes: What We See on Wayne Dalton, Craftsman, Raynor, and LiftMaster Doors
Garage doors are not interchangeable. Each manufacturer has its own design quirks, known failure points, and parts compatibility requirements. Here’s what we encounter most frequently on four of the major brands we service regularly.
Wayne Dalton
Wayne Dalton doors are common in Fullerton’s tract-home developments, and they have one distinct characteristic: the TorqueMaster spring system. Unlike standard torsion springs that are visible on the shaft above the door, TorqueMaster springs are enclosed inside a tube. This design is safer – the spring is contained – but it also means the homeowner can’t visually spot a broken spring the way they can with a standard system. If you have a Wayne Dalton door that won’t lift, and you can’t see a visible spring anywhere, you’re likely dealing with a TorqueMaster failure. You won’t see the break; you’ll just notice the door suddenly weighs too much.
Craftsman
Craftsman openers – manufactured primarily by Chamberlain – are among the most installed openers in the country, and the units from the 1990s and early 2000s are reaching the end of their service life in huge numbers. The most consistent failure is the internal gear and sprocket assembly. The symptom: the opener motor runs, but the door doesn’t move. Inside the powerhead, the plastic gear has stripped. This is a repairable problem – the gear kit is readily available and less expensive than a full opener replacement. If your Craftsman opener is 15 to 25 years old and the motor runs without moving the door, this is the likely culprit.
Raynor
Raynor doors tend to be heavier than many competitors because of the steel gauge and insulation factor. That’s a good thing for durability, but it means the springs are under more tension. We see Raynor spring failures occur more abruptly than on lighter doors. If you have a Raynor door in Fullerton and the spring breaks, the door becomes very heavy very fast. The manual release will not help you – that door is not going to lift by hand the way a lighter door might.
LiftMaster
LiftMaster is the professional-installation brand from Chamberlain, and the newer units are built around smart-home connectivity. The most common issue we troubleshoot on LiftMaster openers is not mechanical failure but signal and logic board confusion. MyQ-enabled units occasionally lose their Wi-Fi connection, the remote loses its programming after a power surge, or the travel limits reset themselves. The opener itself is typically solid, which means the fix is usually a reprogramming, not a replacement. Before you replace a LiftMaster, have someone who knows the brand run through the logic board diagnostics.
This is where the brand fluency matters. A handyman who doesn’t know that Wayne Dalton uses a hidden TorqueMaster spring might tell you your spring “looks fine” and guess at a replacement part you don’t need. The right fix, not the nearest fix, comes from knowing the hardware.
Common Mistakes to Avoid
- Pressing the button repeatedly after a failure. Every failed cycle adds stress to every component. One press, diagnosis, then decision. Repeated pressing is how a $75 fix becomes a $600 fix.
- Spraying WD-40 on everything. WD-40 is a solvent, not a lubricant. It strips existing grease and leaves metal dry. Use a proper garage door lubricant on rollers and hinges, and leave the tracks dry.
- Pulling the manual release when the door is open and you suspect spring failure. The release disengages the opener’s hold. With a broken spring, the door can fall. This is one of the most common causes of serious garage door injuries.
- Replacing the opener when the spring is broken. If the motor runs but nothing moves, it’s tempting to blame the motor. But an opener that’s still humming is usually fine – the door system is the problem. Diagnose before you spend.
- Adjusting torsion springs yourself. Torsion springs are under enough tension to break bones or worse. This is not a DIY job, not even with the “right” tools from a YouTube tutorial. Professionals use winding bars and follow a very specific process.
- Ignoring a noisy door until it stops making noise. A door that suddenly goes quiet after months of grinding hasn’t fixed itself. It means the roller has fully seized and is now dragging, or a component has broken. Noise is the early warning system.
- Mixing parts from different brands. A Genie rail doesn’t pair with a Chamberlain powerhead. A Wayne Dalton bottom seal doesn’t fit an Amarr door. Generic “universal” parts often don’t perform correctly, and installing them can void any existing warranty on the door or opener.
When to Call a Professional
Call a garage door specialist when the problem involves springs, cables, or a door that’s come off its tracks, as explained in How to Hire a Garage Door Contractor in Fullerton: A Step-by-Step Guide. These are the three areas where DIY attempts lead to injuries and more expensive repairs. Torsion spring replacement requires training and specific tools. Cable replacement requires releasing spring tension safely. Track repair requires understanding how the door’s weight is distributed across the system.
You should also call someone when the problem isn’t obvious. If you’ve run the one-button test, checked the sensors, checked the remote battery, and the door still isn’t working right, the issue is often in the opener’s logic board or force adjustments – not something a homeowner can diagnose without diagnostic equipment. Westport Garage Door Repair offers free estimates in Fullerton – call (877) 265-9301.
Frequently Asked Questions
This is almost always the safety reverse system activating, usually because the close-force setting is too low or the safety sensors are misaligned or dirty. Check the sensor lights first – both should be solid, not blinking. If the sensors are fine, the travel limits or force sensitivity may need adjustment, which is a quick fix for a technician.
A single torsion spring replacement in Fullerton typically ranges from $180 to $340 depending on the door size, spring type, and whether both springs are replaced. Most doors use two springs, and when one breaks, the other is usually not far behind – replacing both at once is often the more cost-effective choice. For an exact quote on your door, call (877) 265-9301.
Yes, if the door is in working mechanical order. Pull the red manual release cord straight down while the door is closed, then lift the door by hand. A properly balanced door should lift smoothly and stay open. If the door feels extremely heavy or drops rapidly, the springs have failed and the door should not be operated manually.
A humming opener with no door movement usually means one of two things: either the garage door springs have broken and the opener can no longer lift the door’s weight, or the opener’s internal gear has stripped. Both are repairable, but the fix is different. A quick way to narrow it down: pull the manual release and try lifting the door. If it’s extremely heavy, it’s the springs; if it lifts normally, it’s the opener gear.
When a door opens normally but won’t close, the problem is almost always in the close side of the system – misaligned safety sensors, a close-limit setting that’s off, or an obstruction at the bottom of the track. Check the sensors first; they’re the cause in the majority of these calls. Then check for anything blocking the door’s path, even a leaf or a small rock.
Once a year is a good baseline, ideally in early fall before the Santa Ana winds blow grit into everything. Fullerton’s hot, dry summers accelerate wear on rubber seals and lubricants, and an annual service catches minor issues like a fraying cable or a weakening spring before they become breakdowns. If your door gets heavy daily use – it’s the primary entry point to your house – every six months is even better.
The Bottom Line
Garage door troubleshooting comes down to discipline: stop operating the door the moment something goes wrong, identify whether the problem is mechanical or electrical, and respect the line between what’s safe to fix yourself and what isn’t. Springs, cables, and track work belong to professionals. Sensors, remote batteries, lubrication, and loose bolts are manageable DIY territory. The real lesson from years of service calls in Fullerton is simple: the faster you stop running a failing door, the cheaper and easier the repair will be. When the problem goes beyond the basics, a specialist who understands your specific brand – from the opener to the panel – gets you back in working order sooner.
Written by the team at Westport Garage Door Repair, serving Fullerton since 2012.
See the difference
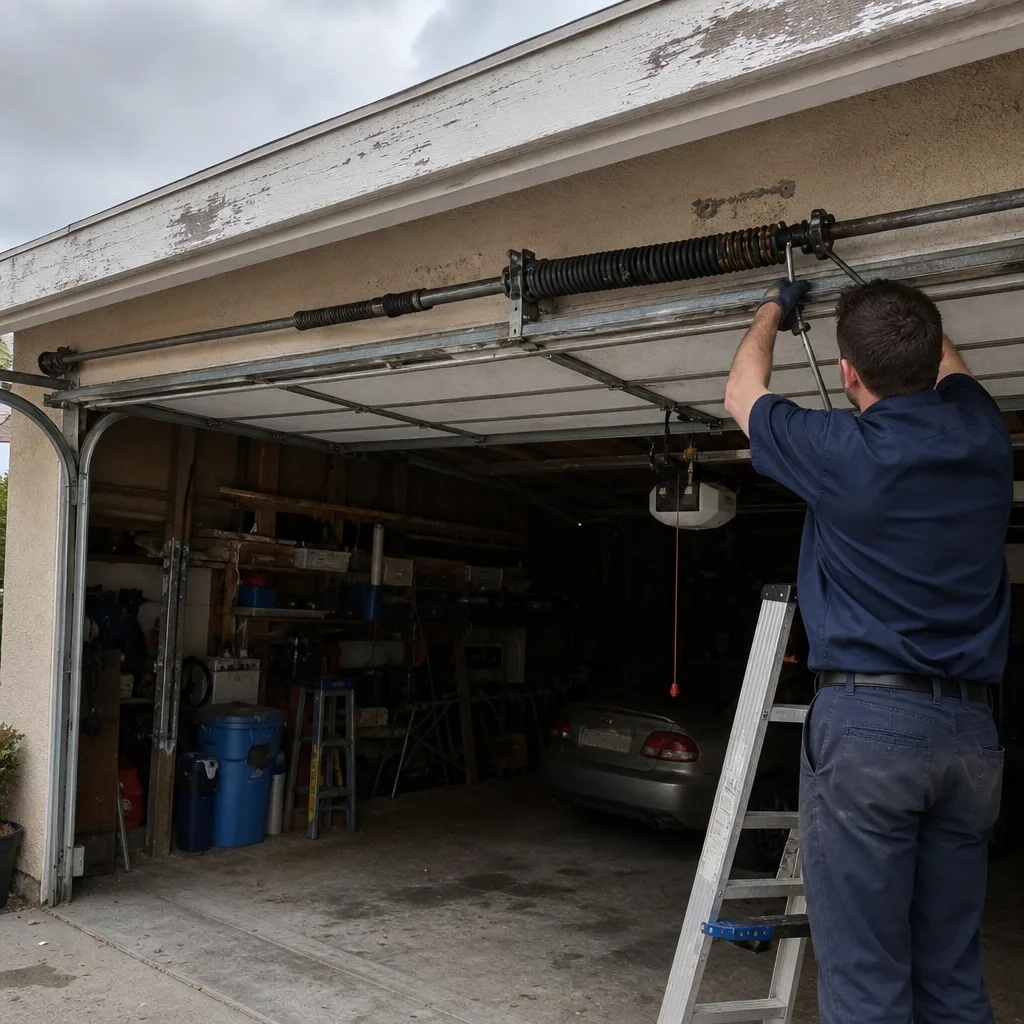 Before
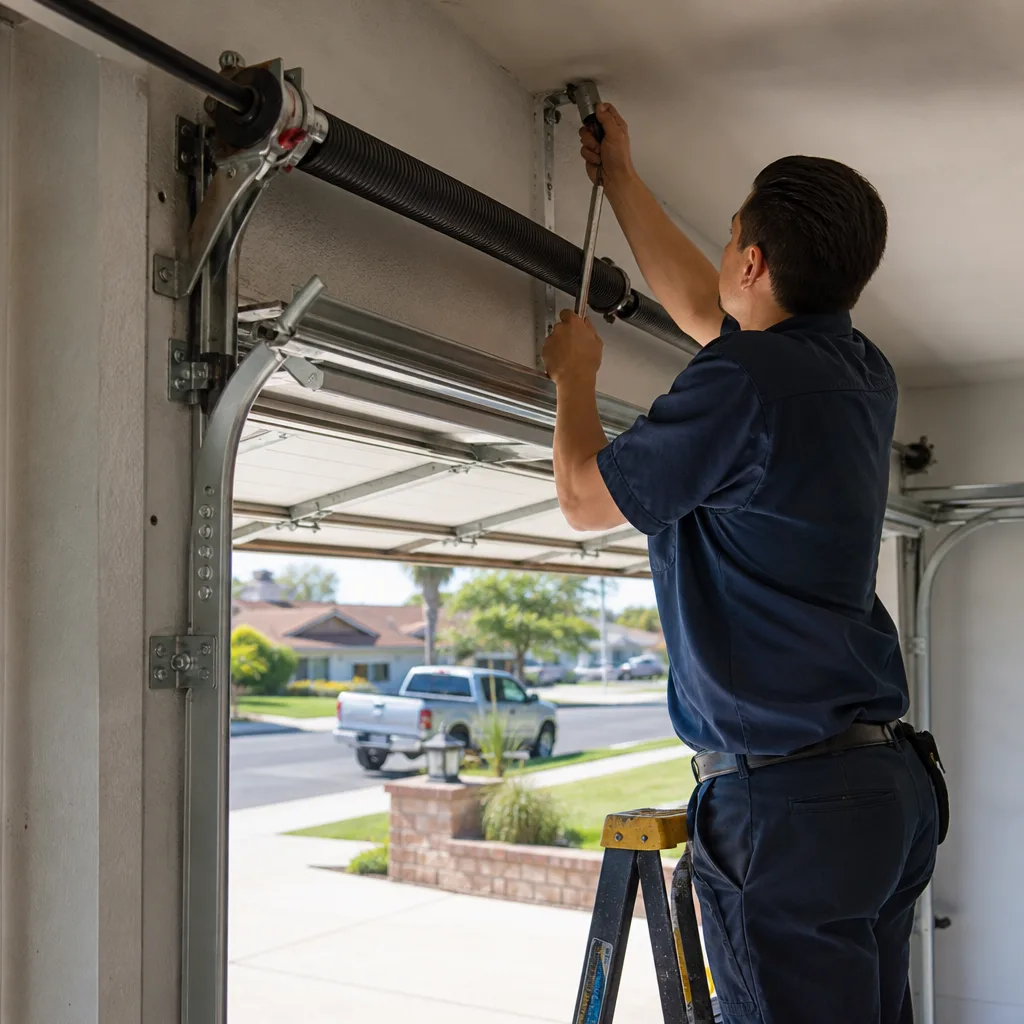 After
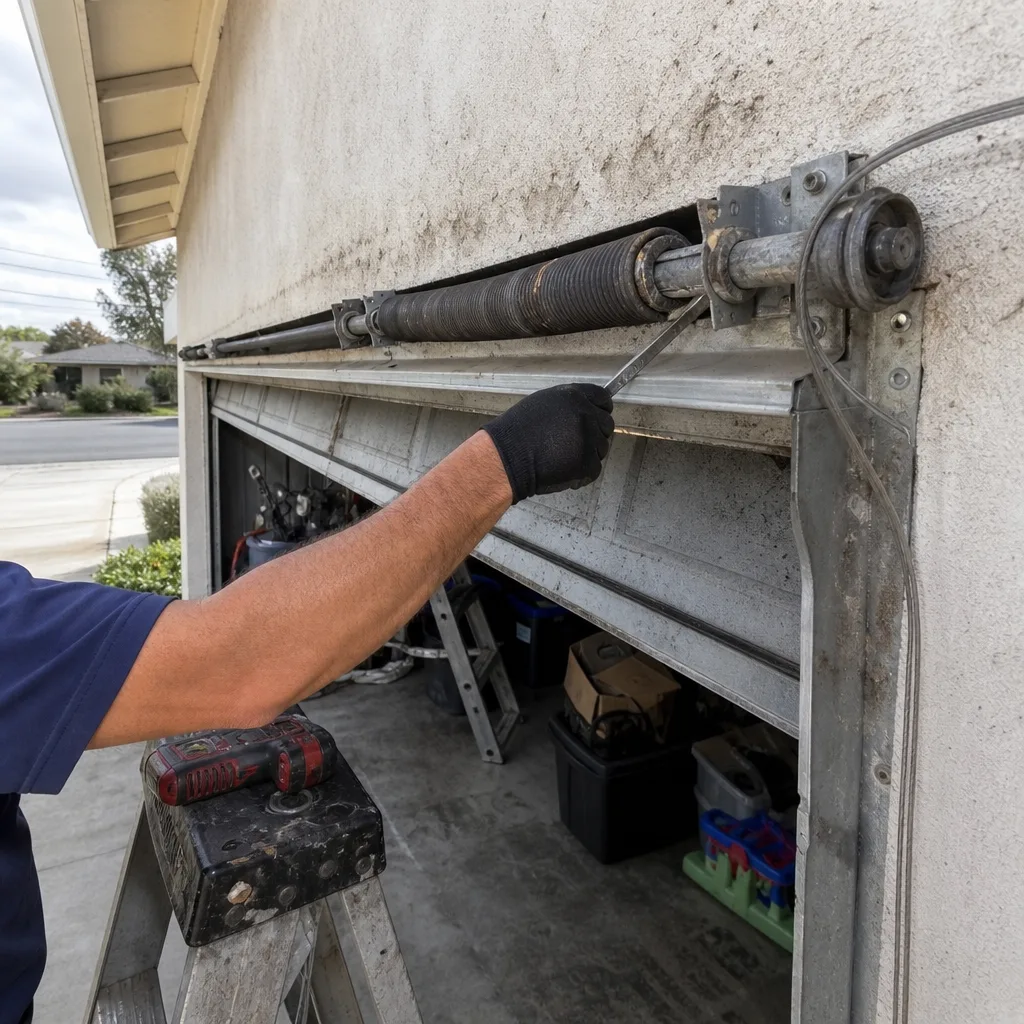 Before
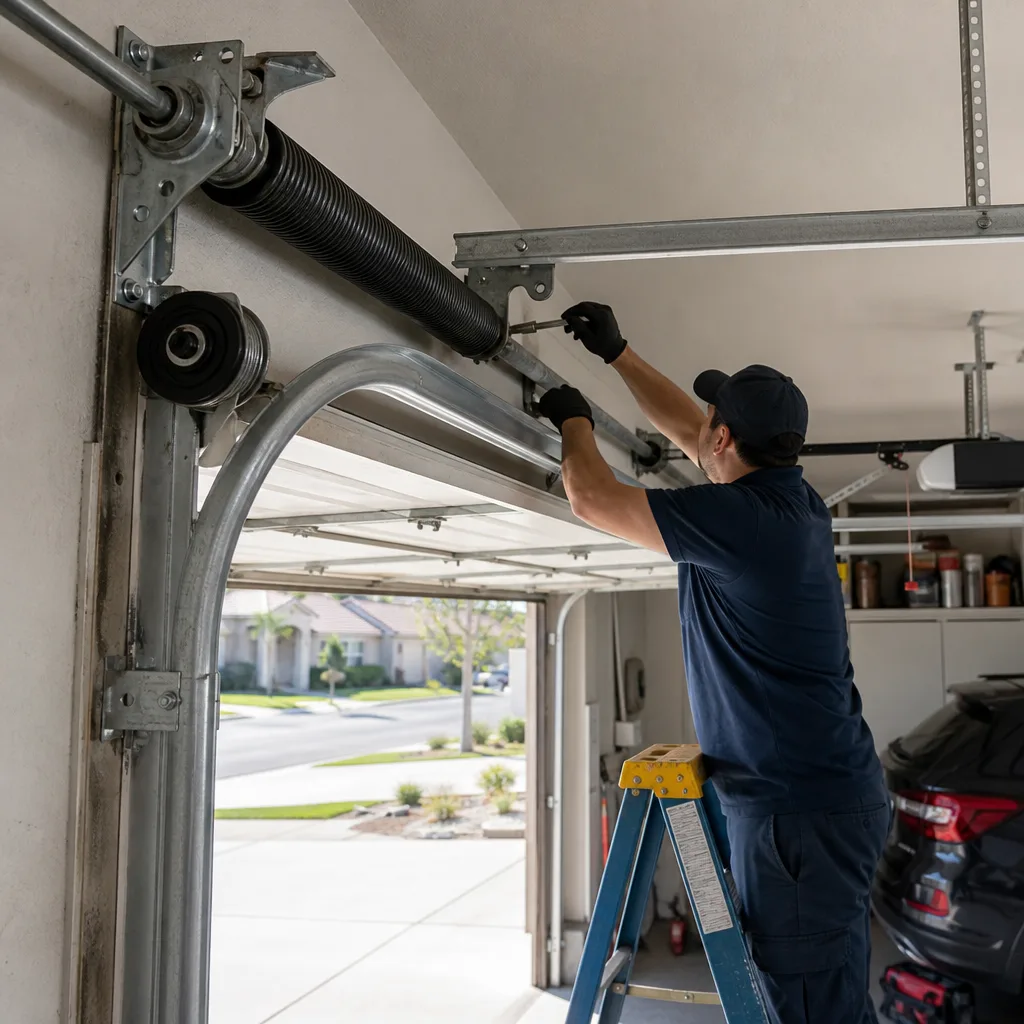 After
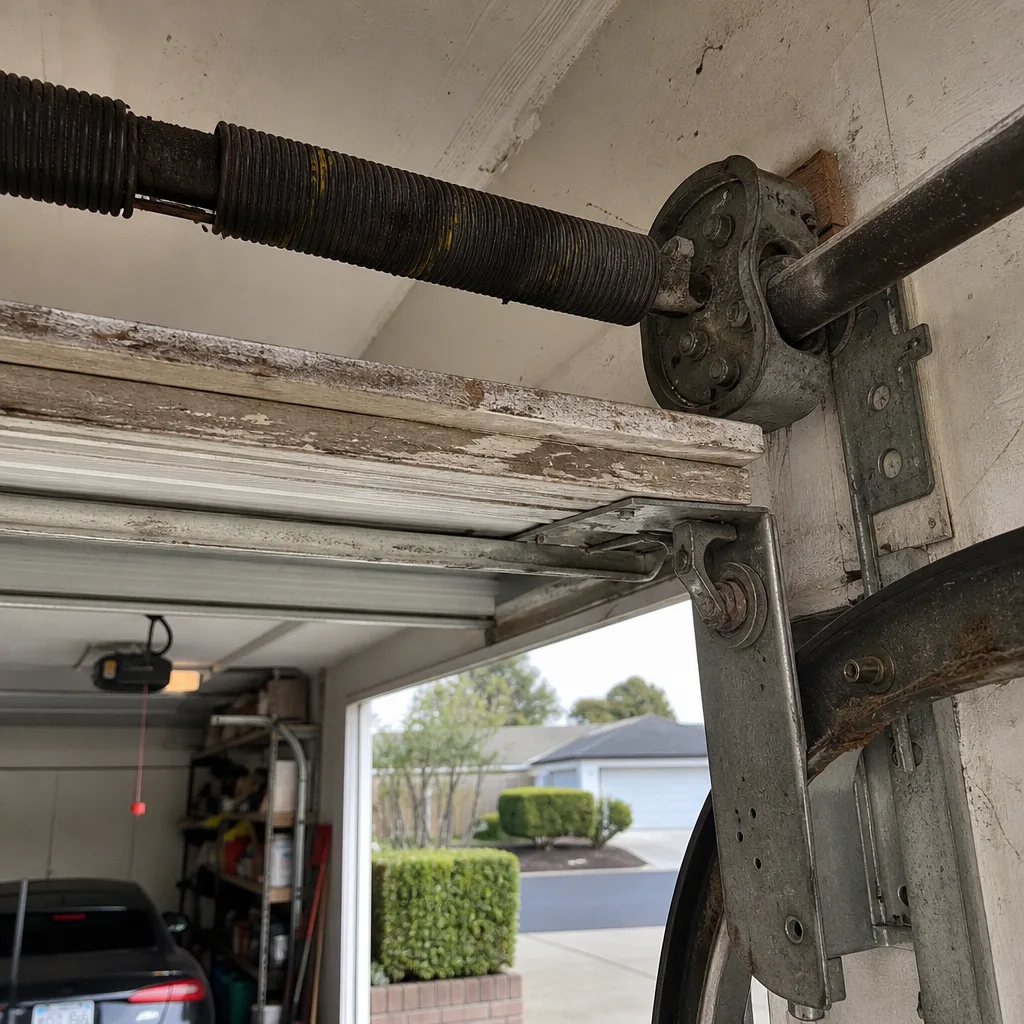 Before
 After